
SnapTube has crossed the 100 million download mark on Android, making it one of the most popular apps for downloading videos and music. Many Windows users have also shown interest in running SnapTube on their computers, even though there’s no official version for PC.
Fortunately, it’s possible to use SnapTube on Windows by running the Android app through an emulator. This guide explains how to install SnapTube for PC on Windows 11, Windows 10, and older versions such as Windows 7 or XP, along with the essential setup requirements, recommended emulators, and installation process.
Quick Navigation
Why Install SnapTube on PC?
Installing SnapTube on a Windows computer provides several advantages over mobile-only usage.
- The larger desktop display makes managing downloaded content and navigating the application interface significantly easier.
- Keyboard and mouse controls offer more precise input compared to touchscreen interaction, especially when managing large media libraries or batch downloading multiple files.
- PC installation enables efficient archiving of downloaded content with better storage management capabilities. Users can organize videos and audio files across multiple hard drives or external storage devices more effectively than on mobile devices.
- The desktop environment allows for multitasking – users can run SnapTube while simultaneously managing files, working on other applications, or uploading content to cloud storage services.
Is it worth it? The decision to use SnapTube on PC depends on individual needs. For casual users downloading occasional videos, the mobile app remains sufficient. However, for content creators, researchers, or users maintaining extensive offline media collections, the PC version offers substantially better workflow efficiency.
Minimum System Requirements to Install Snaptube on PC
For users unfamiliar with the term, an Android emulator is a software program that replicates the Android operating system on a Windows computer. It creates a virtual environment that functions like an Android smartphone, enabling the user to install, launch, and use Android applications directly on a PC.
Running SnapTube on a computer follows this same approach. Before proceeding with the installation steps for SnapTube on PC, it is essential to confirm that the system meets the minimum hardware requirements necessary to operate the Android emulator smoothly.
| Component | Requirement |
|---|---|
| Operating System | Windows 7, Windows 8, Windows 10, or Windows 11 (64-bit recommended) |
| Processor | Intel or AMD multi-core CPU with virtualization support |
| RAM | 4GB minimum (8GB recommended for smooth operation) |
| Storage Space | 5GB free disk space |
| Graphics Card | OpenGL 2.0+ compatible graphics adapter |
| Virtualization | Intel VT-x or AMD-V support enabled in BIOS |
Installing SnapTube on PC with BlueStacks 5
BlueStacks 5 is a popular and reliable Android emulator that enables the installation of Android apps like SnapTube on Windows PCs. Its robust optimization, compatibility with Windows 10 and 11, and active development make it a favored option among users seeking to run SnapTube for PC, SnapTube PC version, or SnapTube for Windows 11/10.
Pros
- Broad OS compatibility (Win 7/8/10/11)
- Fast boot, efficient resource usage
- Modern interface, keyboard/mouse support
- Frequent updates and support
Cons
- Requires virtualization enabled in BIOS
- Large install size, may show promotions
- Occasional slowdowns on budget PCs
- Regular updates required
- Step 1 – Download and Install BlueStacks 5 – Visit the official BlueStacks website and download the installer for Windows. Open the installer and choose “Install Now.” Wait for all necessary files to finish downloading. Launch BlueStacks 5 after installation.
- Step 2 – Download SnapTube APK – Source the latest SnapTube APK from reputable sites (e.g., Malavida, UpToDown, or from our website). Avoid questionable download locations to prevent security risks or malware.
- Step 3 – Install SnapTube APK via BlueStacks – Drag and drop the APK file directly onto the BlueStacks main dashboard, or Use the “Install APK” button (bottom toolbar) and select the APK file. Wait for installation; SnapTube’s icon should appear in the app list.
- Step 4 – Configure Permissions and Settings – On first launch, grant necessary permissions for storage/media access. Open the SnapTube settings menu to set the download folder, video/audio formats, and quality preferences.
Note – If BlueStacks or SnapTube fails to launch, ensure that virtualization is enabled in BIOS and that your graphics drivers are up to date. Allocate at least 4GB RAM to BlueStacks for best results on Windows 10/11.
Install Snaptube on PC without BlueStacks
For users who prefer not to install BlueStacks on a Windows PC, several alternative methods are available to run SnapTube efficiently. The following options allow SnapTube for PC installations on Windows 10, Windows 8.1, Windows 8, Windows 7, or even Windows XP – without requiring BlueStacks as the emulator.
These solutions are particularly well-suited for computers with modest hardware specifications. By choosing one of the emulators listed below, users can download and use SnapTube on Windows PCs without tax on resources or compatibility limits. Currently, AMIDuOS, Andy, Nox App Player, Remix OS, and YouWave stand out as popular, secure, and reliable Android emulators. Each provides a practical path to install SnapTube for PC, ensuring access to its features across a range of Windows versions.
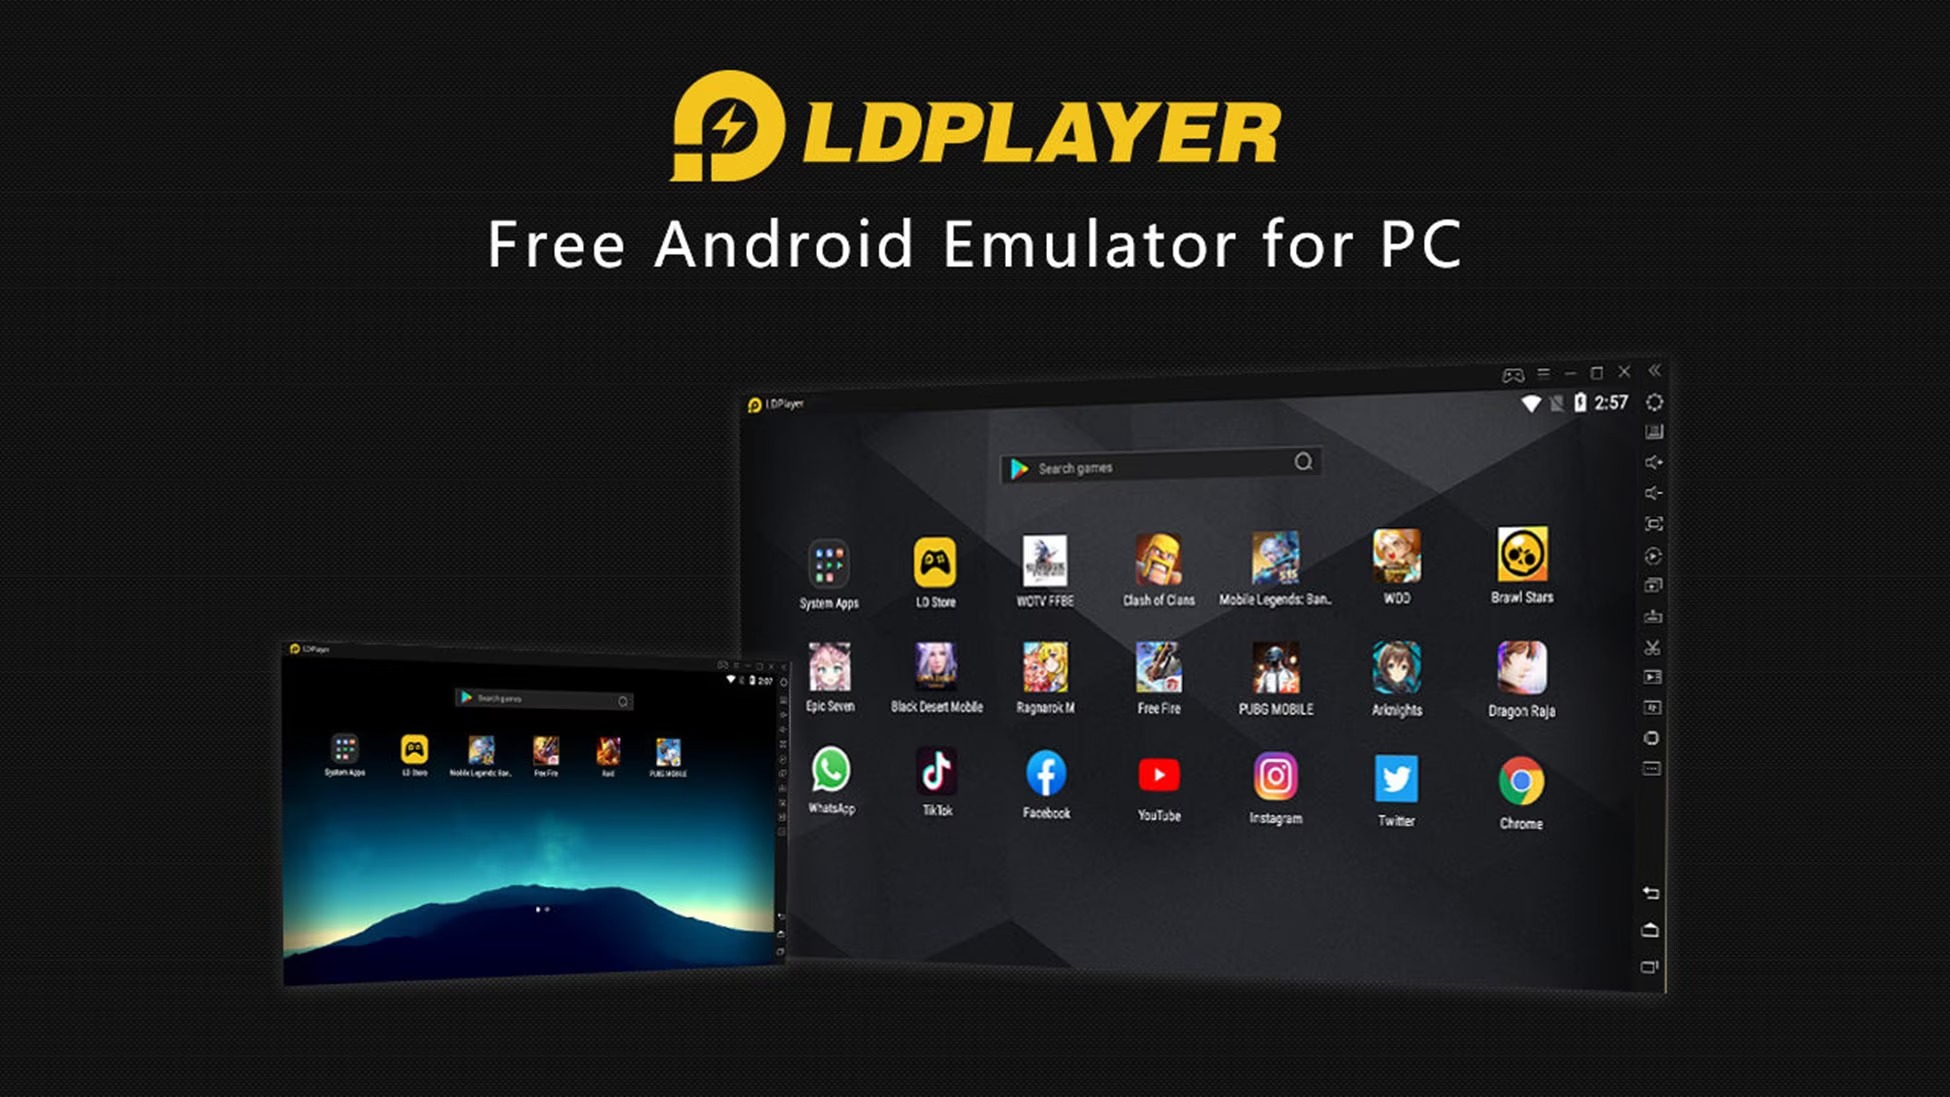
Using LDPlayer Android emulator
LDPlayer is recognized for efficient performance on lower-end or older PCs. It provides essential features and a simple interface for running SnapTube on Windows 10, Windows 11, and Windows 7. LDPlayer supports multi-instance management and several Android versions.
Pros
- Low resource usage, works on older PCs
- Fast startup, simple install
- Multi-instance, Android version choices
- Clean user interface
Cons
- Less frequent updates
- Higher CPU load for large apps
- Limited advanced features
- Minor display optimization limitations
- Step 1 – Download and Install LDPlayer – Go to the official LDPlayer site and download the installer. Open the installer; select install location if prompted and finalize installation. Launch LDPlayer upon completion.
- Step 2 – Download SnapTube APK – Secure the most recent SnapTube APK from our official website.
- Step 3 – Install SnapTube APK via LDPlayer – Click “APK Installer” within the LDPlayer toolbar or file manager. Select the SnapTube APK from saved files. LDPlayer completes installation and lists SnapTube under “My Apps.”
- Step 4 – Configure Permissions and Settings – Grant necessary storage and media access. Within SnapTube settings, define download directory, preferred formats, and quality.
- Step 5 – Using SnapTube on LDPlayer – Use SnapTube’s interface to search or paste video/audio URLs. Choose download settings and start download. Access completed files in the chosen download folder.
Using NoxPlayer Android Emulator
NoxPlayer is a preferred emulator for users requiring advanced system customization and multi-instance support. Its flexibility makes it suitable for SnapTube PC installations on Windows 7, 10, and 11.
Pros
- Customizable controls and settings
- Multi-instance support
- Wide OS support, Mac version available
- Frequent improvements
Cons
- Higher RAM consumption
- Traditional interface, learning curve
- Slower boot on low-end devices
- Installer may include ads/promos
- Step 1- Download and Install NoxPlayer – Navigate to the official NoxPlayer site and download the Windows installer. Execute the installer and follow instructions to complete setup. Start NoxPlayer after installation.
- Step 2 – Download SnapTube APK – Obtain the latest SnapTube APK from trusted repositories (Malavida, UpToDown).
- Step 3 – Install SnapTube APK via NoxPlayer – Drag and drop the APK into the NoxPlayer window, or use the emulator’s “APK Installer.” Confirm installation; SnapTube will appear in the app tray.
- Step 4 – Set Permissions and Preferred Settings – Grant necessary storage/media permissions. Access SnapTube settings to customize download folder, audio/video formats, and other preferences.
- Step 5 – Using SnapTube on NoxPlayer – Search or paste links within SnapTube for downloading. Select video/audio quality and format, begin download. Access files in Windows via the set directory.
Tip: NoxPlayer is best configured with dedicated RAM/CPU resources. Users seeking maximum performance or advanced multi-tasking should utilize the emulator’s settings for optimal SnapTube functionality.
Using KoPlayer Android Emulator
KoPlayer is an Android emulator tailored for low-end PCs, offering a balance between usability and efficiency for SnapTube installations on Windows 7, 10, or 11. It features keyboard mapping, video recording within apps, and an intuitive design.

Pros
- Excellent for low-end, older PCs
- Fast setup and APK installation
- Keyboard mapping, app recording
- Easy navigation, minimal ads
Cons
- Updates less frequent, older Android
- May experience minor app instability
- Slower performance with heavy apps
- Limited advanced emulator features
- Step 1 – Download and Install KoPlayer – Visit the official KoPlayer website and download the installer for Windows. Run the installer, accept license terms, and follow prompts to complete setup. Launch KoPlayer on your desktop.
- Step 2 – Download SnapTube APK – Get the latest SnapTube APK from trusted sources (Malavida, UpToDown). Save the APK to an accessible location on your PC.
- Step 3 – Install SnapTube APK via KoPlayer – Open KoPlayer and click the “Add APK” button on the main interface. Browse to the SnapTube APK and select it. Installation will proceed; SnapTube will be added to KoPlayer’s app tray.
- Step 4 – Configure Permissions and Settings – Grant storage and media access when prompted. Set preferred download directories, formats, and quality settings within the SnapTube app.
- Step 5 – Using SnapTube on KoPlayer – Use SnapTube’s search or URL paste feature for downloading. Select desired quality and format, begin download. Access completed files through KoPlayer’s file manager or designated Windows folder.
Using Remix OS Android Emulator
Remix OS provides an entire Android operating system for PCs, making it ideal for advanced users who want a native Android experience. It is well-suited for SnapTube, offering multitasking and desktop-like app management on Windows machines.

Pros
- Full Android OS, native experience
- True multitasking, desktop navigation
- Community support, open source
- Familiar Android desktop workflow
Cons
- Resource intensive, complex setup
- Longer boot time, hardware needs
- Requires partition/USB for installation
- Learning curve for new users
- Step 1 – Download and Install Remix OS – Obtain Remix OS from the official website. Set up as a bootable USB or install directly on your computer, following official instructions.
- Step 2 – Download SnapTube APK – Download SnapTube APK from reliable platforms. Save the APK to a known folder accessible in Remix OS.
- Step 3- Install SnapTube APK via Remix OS – Launch Remix OS and open the file manager. Drag and drop the SnapTube APK onto the home screen, or use install prompts. Wait for installation to complete; SnapTube’s icon will appear in the app tray.
- Step 4 – Configure Settings and Permissions – At initial run, allow required permissions. Configure the download folder, set desired video/audio formats, and select preferred quality in the SnapTube settings.
- Step 5 – Using SnapTube on Remix OS – Search, paste links, or browse within SnapTube. Manage downloads using Remix OS’s file tools and media apps.
FAQs Around Snaptube for PC
Is Snaptube available for laptops?
Is Snaptube available for laptops?
Yes, Snaptube is available for laptops as well, but only for those running the Windows operating system. If you’re using macOS or Linux, you will need to use different Android emulators.
Is Snaptube safe to use on a PC?
Is Snaptube safe to use on a PC?
Yes, it’s completely safe to use Snaptube on PC, even more secure than using Snaptube on an Android device, as you’re not directly running the app on your operating system.